

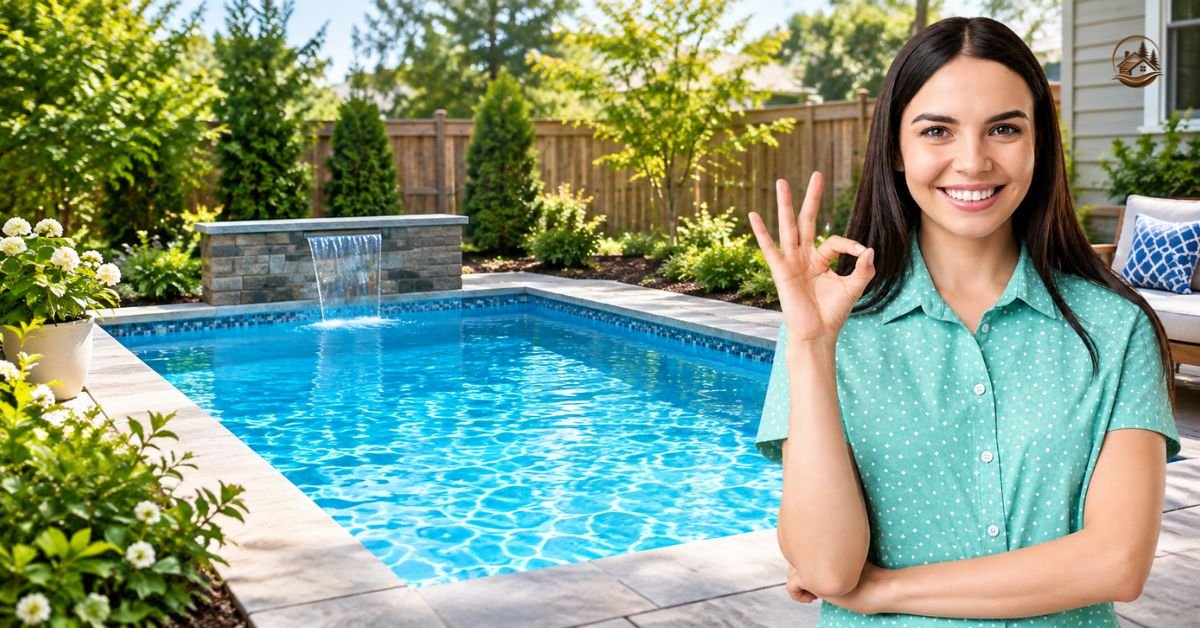
Building a pool in your backyard can feel like a dream when you have limited space or a tight budget. You might wonder if your yard is large enough, which design makes sense, or whether construction will become more complicated than expected. The good news is that a well-planned small pool can turn an ordinary backyard into a refreshing place to relax and enjoy time with family.
This guide explains how to build a small pool in your backyard, from choosing the right location and design to preparing the ground, installing equipment, and maintaining clean water. Whether you’re considering a DIY pool project or planning to hire professionals, you’ll learn the essential steps to make informed decisions and avoid common mistakes.
1. Start With a Simple Pool Plan
Before digging or buying materials, take time to create a clear plan for your backyard pool. Think about how you want to use it. Will it be a place for cooling off during summer, a relaxing space for adults, or somewhere for children to enjoy supervised water activities? Your answers will influence the pool size, depth, shape, and overall design. A simple plan also helps you estimate costs and avoid expensive changes later.
Start by measuring your available backyard space and identifying how much room you can dedicate to the pool. Leave enough space for walking paths, equipment, drainage, and any surrounding features you want to add. You should also consider your budget, expected construction timeline, and ongoing maintenance costs. Even a small pool project requires thoughtful planning if you want the finished result to be comfortable, safe, and practical.
2. Find the Best Spot in Your Backyard
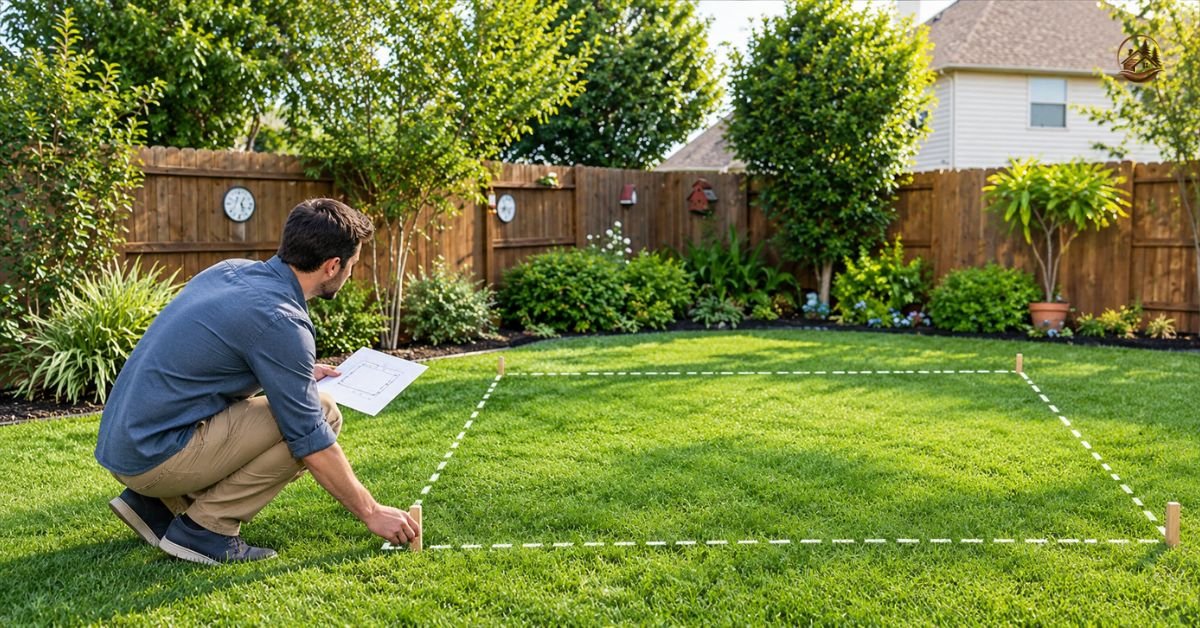
Choosing the right pool location can affect everything from sunlight and privacy to construction costs and long-term maintenance. Look for an area that receives suitable sunlight throughout the day, especially if you want naturally warmer water. Avoid placing the pool too close to large trees because falling leaves, roots, and branches can create maintenance problems. Also, check whether the ground slopes or collects rainwater after storms.
Think about how the pool will connect with the rest of your outdoor living space. A location near your patio or back door may make access more convenient, while a quieter corner could offer better privacy. Keep utility lines, property boundaries, septic systems, and existing structures in mind before finalizing the location. A professional site assessment can help identify hidden problems that may increase excavation or installation costs.
Must Read this Article: Click Here
3. Choose a Pool Design That Fits Your Space
The best pool design isn’t necessarily the largest or most expensive option. For a compact backyard, rectangular, square, plunge, and narrow lap pool designs can make excellent use of limited space. A simple shape often makes construction and maintenance easier, while a custom design may help you work around unusual yard dimensions. Consider how people will move around the pool and whether the shape matches your home’s style.
You also need to choose between an above-ground pool and an in-ground pool. Above-ground options may offer simpler installation and lower initial costs, depending on the site and product. In-ground pools provide more flexibility in depth, shape, and landscaping but typically require more excavation and construction work. Common materials include concrete, fiberglass, and vinyl liners, each with different installation requirements, durability considerations, and maintenance needs.
| Pool Type | General Features |
| Above-ground pool | Often quicker to install and suitable for many smaller yards |
| Fiberglass pool | Factory-made shell with relatively quick installation |
| Concrete pool | Customizable shape and dimensions |
| Vinyl liner pool | Flexible design options with a replaceable liner |
4. Understand Permits, Codes, and Safety Rules
Before starting pool construction, check your local building department’s requirements. Many areas require permits for in-ground pools, and some above-ground pools may also need approval depending on their size and installation method. Local building codes can cover setbacks, electrical work, barriers, drainage, and structural requirements. Ignoring these rules can lead to delays, fines, or costly changes after construction begins.
Pool safety deserves attention from the beginning rather than being treated as a finishing detail. Ask about required fencing, self-closing gates, alarms, and safe access points. Electrical equipment should be installed according to applicable safety standards by qualified professionals. If you’re unsure which permits or inspections apply to your property, contact your local building authority before purchasing materials or beginning excavation.
5. Get the Ground Ready for Construction
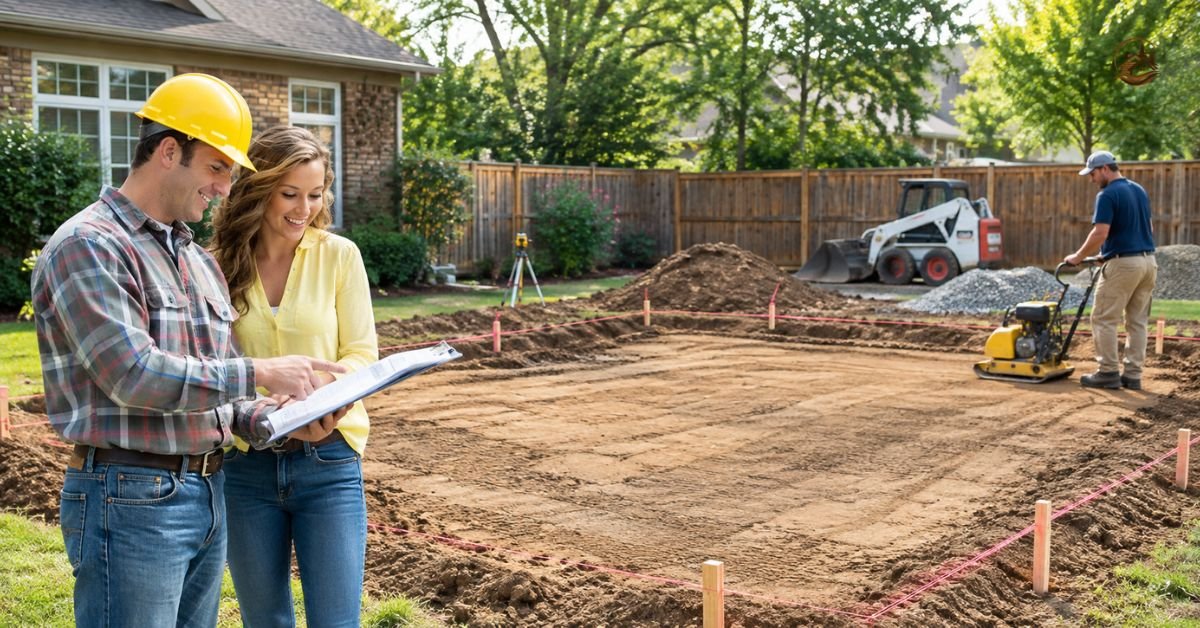
Proper ground preparation creates the foundation for a successful pool installation. Start by clearing the selected area of grass, rocks, roots, debris, and other obstacles. Depending on the pool design, the site may require excavation, grading, soil testing, or additional drainage work. The ground should be stable and suitable for supporting the pool structure and the weight of the water.
For an above-ground pool, the site generally needs a firm, level surface that won’t shift under pressure. In-ground pools require more extensive preparation because excavation must match the planned dimensions and depth. A contractor may need to address soft soil, groundwater, or uneven terrain before construction continues. Rushing this stage can cause settling, structural stress, or drainage issues later.
6. Create a Strong and Stable Pool Base
A properly prepared pool base supports the structure and helps prevent movement, uneven pressure, and damage. The exact base depends on the type of pool you’re building. Above-ground pools may use a manufacturer-approved base system, while in-ground pools commonly require engineered structural support, such as a concrete shell or other specified foundation system.
The base must be level, stable, and designed for the soil conditions at your property. For some installations, contractors may use compacted aggregate, sand, reinforced concrete, or other approved materials. The wrong material or poor compaction can create weak spots beneath the pool. Follow the pool manufacturer’s specifications or a qualified contractor’s structural plan instead of relying on a generic DIY method.
7. Set Up Water Lines and Pool Equipment
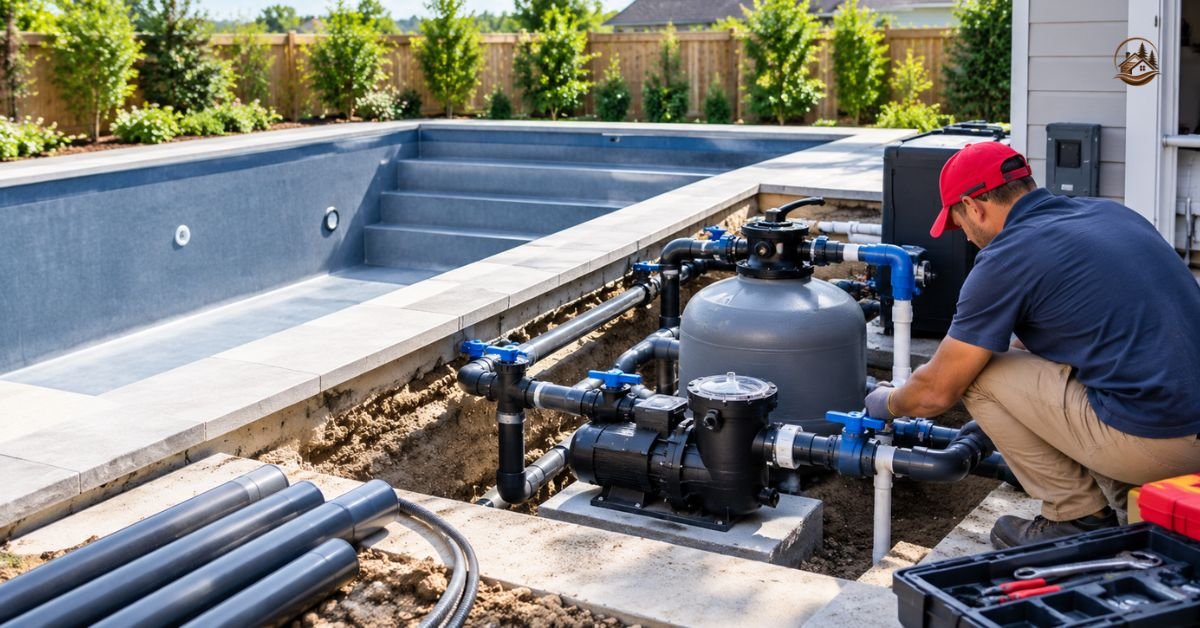
A pool needs more than a container filled with water. Proper plumbing and equipment keep water circulating, remove debris, and support water quality. During installation, the plumbing system should connect the pool to the pump, filter, drains, and other required components. The layout should allow easy access for future repairs and maintenance.
A typical filtration system includes a pool pump, filter, skimmer, and return lines. The pump moves water through the filter before sending it back into the pool. Depending on the design, additional equipment may include heaters, automatic cleaners, or lighting systems. Choose equipment that matches the pool’s water volume and manufacturer recommendations rather than assuming a larger pump is always better.
8. Finish the Pool With a Safe Surrounding Area
The area around your pool affects both appearance and everyday safety. A suitable pool deck or surround provides space for entering and exiting the water, placing furniture, and walking around without stepping directly onto muddy ground. Choose surfaces designed for wet environments with appropriate slip resistance and durability. Avoid materials that become dangerously slippery when exposed to water.
Pool coping, drainage, and landscaping should also be planned carefully. Proper drainage helps direct rainwater and splashes away from the pool and nearby structures. You can use paving, stone, concrete, or other suitable materials to create a clean border around the water. Keep plants that shed heavily or have invasive roots away from the pool where possible, and make sure landscaping doesn’t block safety equipment or access routes.
9. Fill the Pool and Check Every System
Once construction and finishing work are complete, the pool should be filled according to the installation instructions. Don’t rush to swim immediately after adding water. First, inspect the pool structure, plumbing connections, pump, filter, and drainage system for visible problems or leaks. Running the equipment and checking water circulation helps confirm that the installation is functioning as intended.
Test the water chemistry before allowing people to use the pool. Important measurements include pH, sanitizer levels, and other factors recommended for your pool system. Balanced water helps protect swimmers, surfaces, and equipment. If you’re unfamiliar with water testing or equipment operation, ask a pool professional to inspect the system and explain the correct startup process.
10. Keep Your Small Pool Clean and Well Maintained
Regular maintenance keeps your backyard pool inviting and helps prevent expensive problems. Remove leaves and debris, check water chemistry, clean the filter as recommended, and inspect the pump and other equipment. Even a small swimming pool can develop algae or cloudy water when circulation and sanitation are neglected. Creating a simple weekly maintenance routine makes these tasks easier to manage.
You should also monitor the pool surround, fencing, drainage, and structural components throughout the year. Look for cracks, loose fittings, unusual pump sounds, or changes in water level that may indicate a problem. Seasonal maintenance requirements can vary depending on your climate and pool type. Consistent care protects your investment and allows you to enjoy the pool with fewer unexpected interruptions.
FAQs
1. What is the best pool size for a small backyard?
The best size depends on your available space and intended use. Compact plunge pools and smaller rectangular designs can provide a relaxing swimming area while leaving room for walking paths and landscaping.
2. How deep should a small backyard pool be?
Pool depth depends on whether you want to relax, cool off, or swim. A qualified pool designer can recommend suitable dimensions based on intended use, safety, and local requirements.
3. Is it cheaper to build an above-ground or in-ground pool?
Above-ground pools often have lower initial installation costs, but the total price depends on site preparation, materials, equipment, and landscaping. Compare complete project estimates rather than just the pool price.
4. Do you need a permit to build a small pool?
Many locations require permits, even for certain smaller pools. Contact your local building department to confirm the rules for your property and pool type.
5. How often should you maintain a small backyard pool?
Basic tasks such as checking water chemistry and removing debris should be performed regularly. Filter cleaning and equipment inspections should follow the manufacturer’s recommendations.
Conclusion
Learning how to build a small pool in your backyard starts with realistic planning, a suitable location, and a design that matches your space and budget. From ground preparation and structural support to plumbing, safety features, and finishing touches, every stage contributes to the pool’s long-term performance.
You don’t need an oversized backyard to create an enjoyable outdoor retreat. With careful decisions, professional guidance where needed, and consistent maintenance, a thoughtfully designed pool can become a valuable part of your home’s outdoor living space.

Welcome to BuildHypcabin! My name is Farhan, and I’m an SEO Expert with several years of experience in SEO, link building, and website growth. I’m passionate about helping websites improve their online visibility and reach the right audience.
At BuildHypCabin, I share informative and useful blogs on different topics to provide readers with practical and easy-to-understand information. For SEO-related questions, collaborations, or any other inquiries, feel free to contact me.
1 thought on “How to Build a Small Pool in Your Backyard”